You can create secure data rooms to share files and folders inside Quatrix account using shared Project Folders.
To create a project folder, follow these steps:
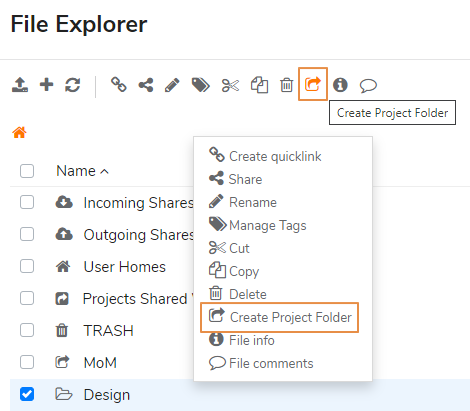
Go to the File Explorer tab and check the folder you would like to share (or you can create a new one that you intend to share by clicking on the Add folder icon from the above menu).
Click on the Create a Project Folder icon from the above menu or choose an appropriate option form the right-click menu.
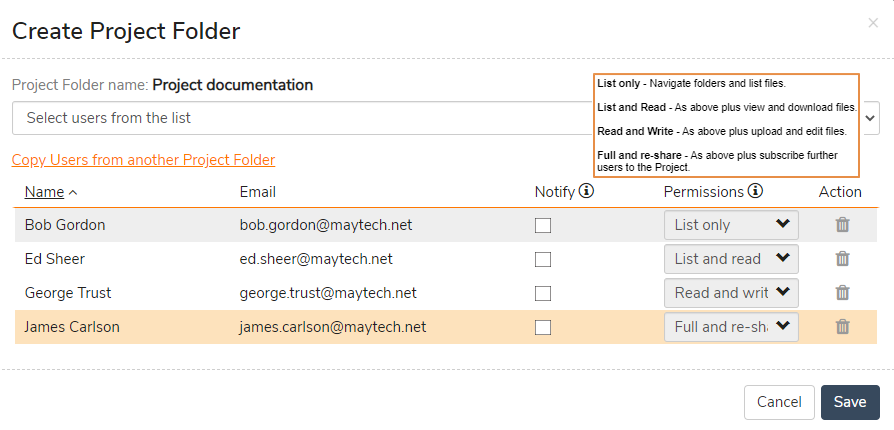
Select users from the list (or you can copy users with assigned permissions from the existing Project Folder by clicking the corresponding link) and specify their permissions. For details on permissions see the tablePredefined Project Folder Permissionsbelow. Besides you can check the Notify box next to the user you would like to subscribe to upload notifications.
Click on the Save button.
As soon as your project folder is created, you will be notified and your users will get emails with details where to find the shared project folder. All your shared projects are stored in the Projects Shared With Me folder of your users.
Predefined Project Folder Permissions
Permitted actions
List only
List and read
Read and write
Full and reshare
View folder structure
•
•
•
•
Copy
•
•
•
Preview
•
•
•
Download
•
•
•
Cut
•
•
Rename
•
•
Delete
•
•
Add new users
•
Change user permissions
•
Write comments
•
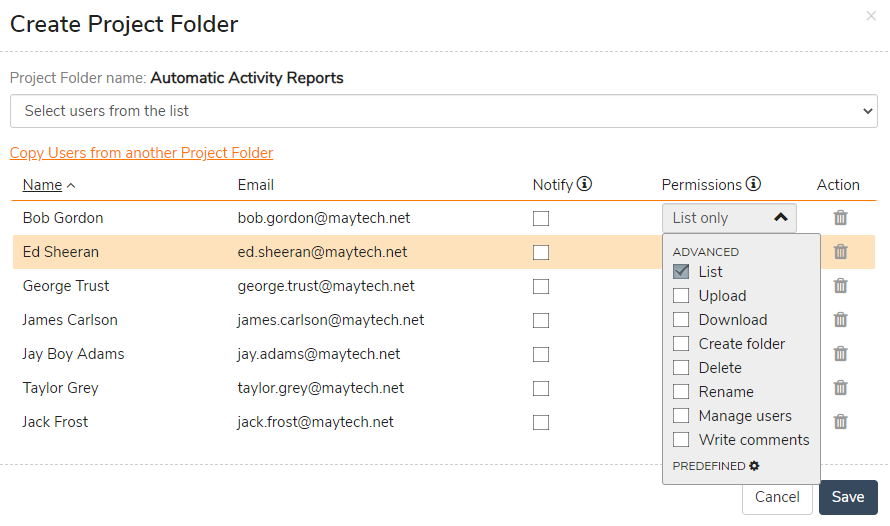
For the convenience of adjusting specific permissions that match your own criteria, click on the Advanced link below the predefined permissions and tick the check boxes with permissions that you would like to assign to the user. Don't forget to save your adjustments.
You can copy users with assigned permissions from the existing Project Folder by clicking on the Copy Users from another Project Folder link (see the screenshot above).
Folders inside the Projects Shared With Me folder do not reduce user storage quota, only the quota of the project folder's owner.
Learn more how to edit, delete and manage access to your project folders in our user guide.